WiFi and lasers

After getting my head around the input/output part of my little NodeMcu board, I set myself another challenge: to control a laser over WiFi.

The laser

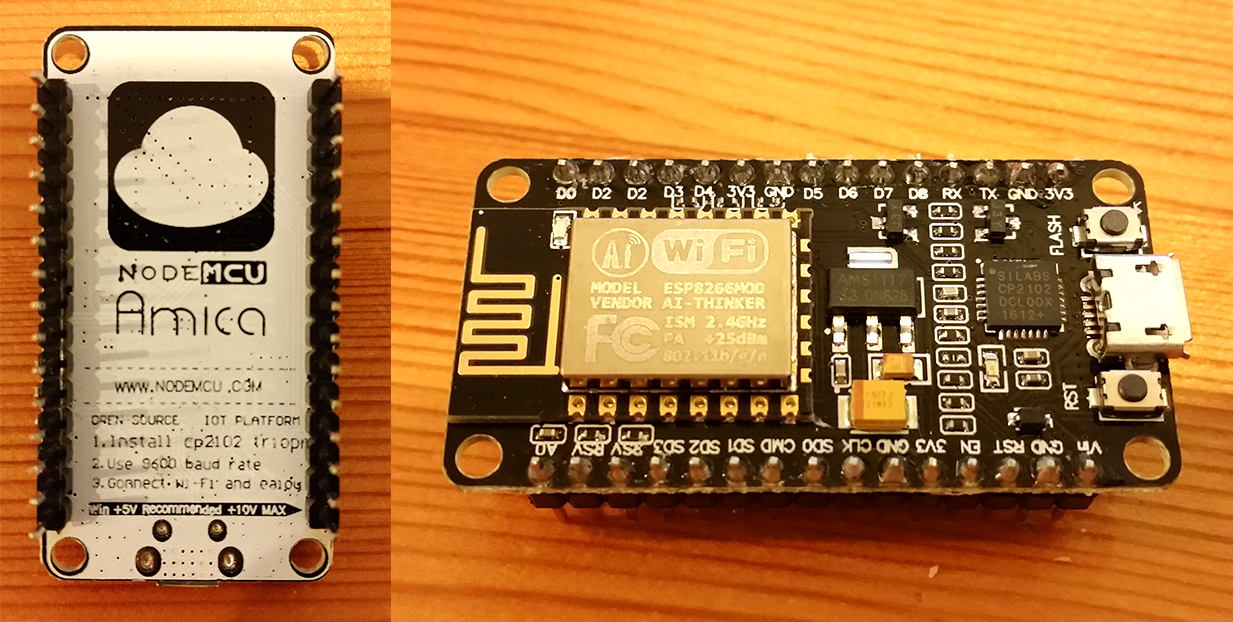
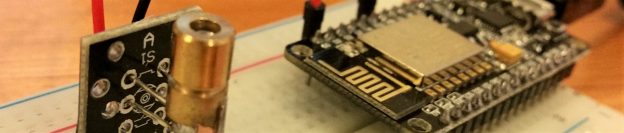
One of the items I brought when I first received the NodeMcu board, along with a basic electronics kit, was a selection of sensors and other small modules. This included a basic laser, which is the one I will be looking to control over WiFi.

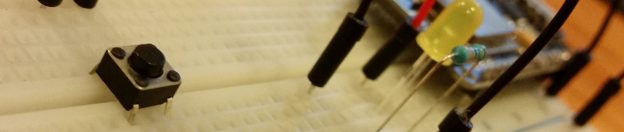
The setup was pretty simple. Pin D2 from the board, to the input of the laser, to ground. On my first attempt I did try to add a resistor to the mix, however since the laser refused to even turn on, I assumed that the laser would add enough resistance without it. Continue reading

Pushing NodeMcu’s buttons

After getting started with NodeMcu and figuring out the basics of using the GPIO pins for output, the obvious next step was to give input a go. So I set myself another challenge: to wire up a button which lit up an LED on another GPIO pin.

The code

The first thing I did was to head back to the NodeMcu documentation to check out how to set the pin mode to input. Seeing a lot more options than the simple “INPUT” or “OUTPUT” I was expecting, I chose the interrupt mode. This would allow me to use the button as a “trigger”, which could then call another function to change the state of my LED.

The last optional argument was also interesting, giving me the option of using an internal weak pull-up. I had no idea what this was referring too, however after watching a couple of YouTube videos I managed to get my head around it. Would also recommend this site here which has an easy-to-understand description. Basically it stops the pin from “floating” (being in a state of not on or off, just floating) as well as preventing shorts. It involves keeping the pin at a high voltage while the button is off, and dropping the voltage when the button is pressed. With this built in (or so I hope from the word “internal” in the description) it allows me to make a much simpler circuit, so it got included. Continue reading

Getting started with a NodeMcu

I took a systems and control course back in my GCSE days and own a Raspberry Pi, yet haven’t done any “electronics” work for years. That’s not to say I’ve haven’t talked about this stuff, I just haven’t done anything.

However the other day I was kindly given a NodeMcu dev kit to have a play around with, an awesome little microcontroller with WiFi, many GPIOs and I’m sure a lot more things I don’t understand at this moment. A £25 Amazon cart later to get some components (I could have stopped at £15 – but those Amazonians are clever with their recommendations) I’m finally ready to get back into some electronics.

NodeMCU Dev Kit

Talking to the board (eventually)

I got started by reading through the NodeMCU documentation on uploading code, assuming the board would have come pre-flashed with firmware. ESPlorer seemed straight forward enough, so downloaded it, plugged in my NodeMCU over USB (got a blue light, it works!) and got started. Continue reading

Footage from Brophy’s swim

As a celebration of one year since my friend Ben Brophy swam the channel for Leukaemia And Lymphoma Research, he’s just uploaded a video containing the footage that Matt Neilson and myself took from the boat. Well worth a watch if you have the time.

If you find the swim impressive (as you should!) and haven’t already done so, then please remember there is still a donation page going! Thank you.

Birmingham Sunset

Now I’m not sure if it’s the procrastination from revising for final year exams, my artistic side trying to get through, or just me wanting to capture the beautiful(ish?!) Birmingham skyline, but over the last few days I’ve been taking a fair few pictures of the sunset from my room. Thought I would upload some of my favourites here:

In the future, I may try applying a little bit of editing magic to see if I can really get something good out of them, but as I currently should be revising, that’s going to have to wait…